- (781) 521 - 6395
- info@jclconstructioninc.com
- jclconstruction.hours@gmail.com
- Mon - Fri: 7:00 - 17:00Saturdays by appointment
The bathtub surround is one of the most visible surfaces in any bathroom — and one of the most frequently updated during a bathroom remodel in Cambridge and Boston. Whether you are replacing a dated fiberglass surround, refreshing an old tile installation, or building a new tub surround from scratch as part of a full bathroom gut renovation, the tile choices made here define the entire character of the space.
A well-designed tub surround does more than cover the walls around the tub. It sets the visual tone for the whole bathroom, frames the tub as the focal point of the space, and — when installed correctly with proper waterproofing — protects the wall structure behind it for decades. At JCL Construction, Inc., we have completed tub surround tile installations throughout Cambridge, Boston, and the Greater Boston area as part of full bathroom remodels and targeted tile replacement projects. Here is what homeowners should know before planning their next tub surround.
A bathtub tile surround refers to the tiled wall area that encloses the three walls around a bathtub — the back wall and the two end walls. The standard tiled height for a tub surround extends from the tub deck to the ceiling or to a defined stopping point above the tub, typically at 72 inches or higher to contain water splash during bathing and showering.
In tub-shower combo configurations — where the same space serves both bathing and showering — the surround must extend to the full ceiling height or at minimum to a height that contains all shower spray. This is the most common configuration in older Cambridge and Boston homes, where dedicated walk-in showers are often added as part of a primary bathroom remodel while the main bathroom retains the tub-shower combo layout.
Classic Subway Tile
Subway tile is the most enduring choice for bathtub surrounds in New England homes, and it works as well in a Cambridge brownstone as it does in a modern Boston condo. The standard 3×6 white ceramic subway tile with gray grout is a perennial combination that photographs beautifully, ages gracefully, and complements virtually any bathroom color palette.
For homeowners who want the subway tile look with a more contemporary feel, larger subway formats — 4×8, 4×12, or even 4×16 — reduce the number of grout lines and give the surround a cleaner, more streamlined appearance. Beveled subway tile adds subtle dimension that catches light differently than flat subway and works especially well in bathrooms with natural light.
Zellige and Handmade-Look Tile
One of the strongest tile trends in Boston and Cambridge bathroom remodels in recent years is the use of handmade-look or Zellige-style tile — characterized by slight surface variation, irregular edges, and a glossy glaze that reflects light unevenly, creating a rich, textured surface. White and off-white Zellige tile on a tub surround has a depth and warmth that standard ceramic cannot replicate, and it works particularly well in older homes where the architecture leans toward craftsmanship and character rather than minimalism.
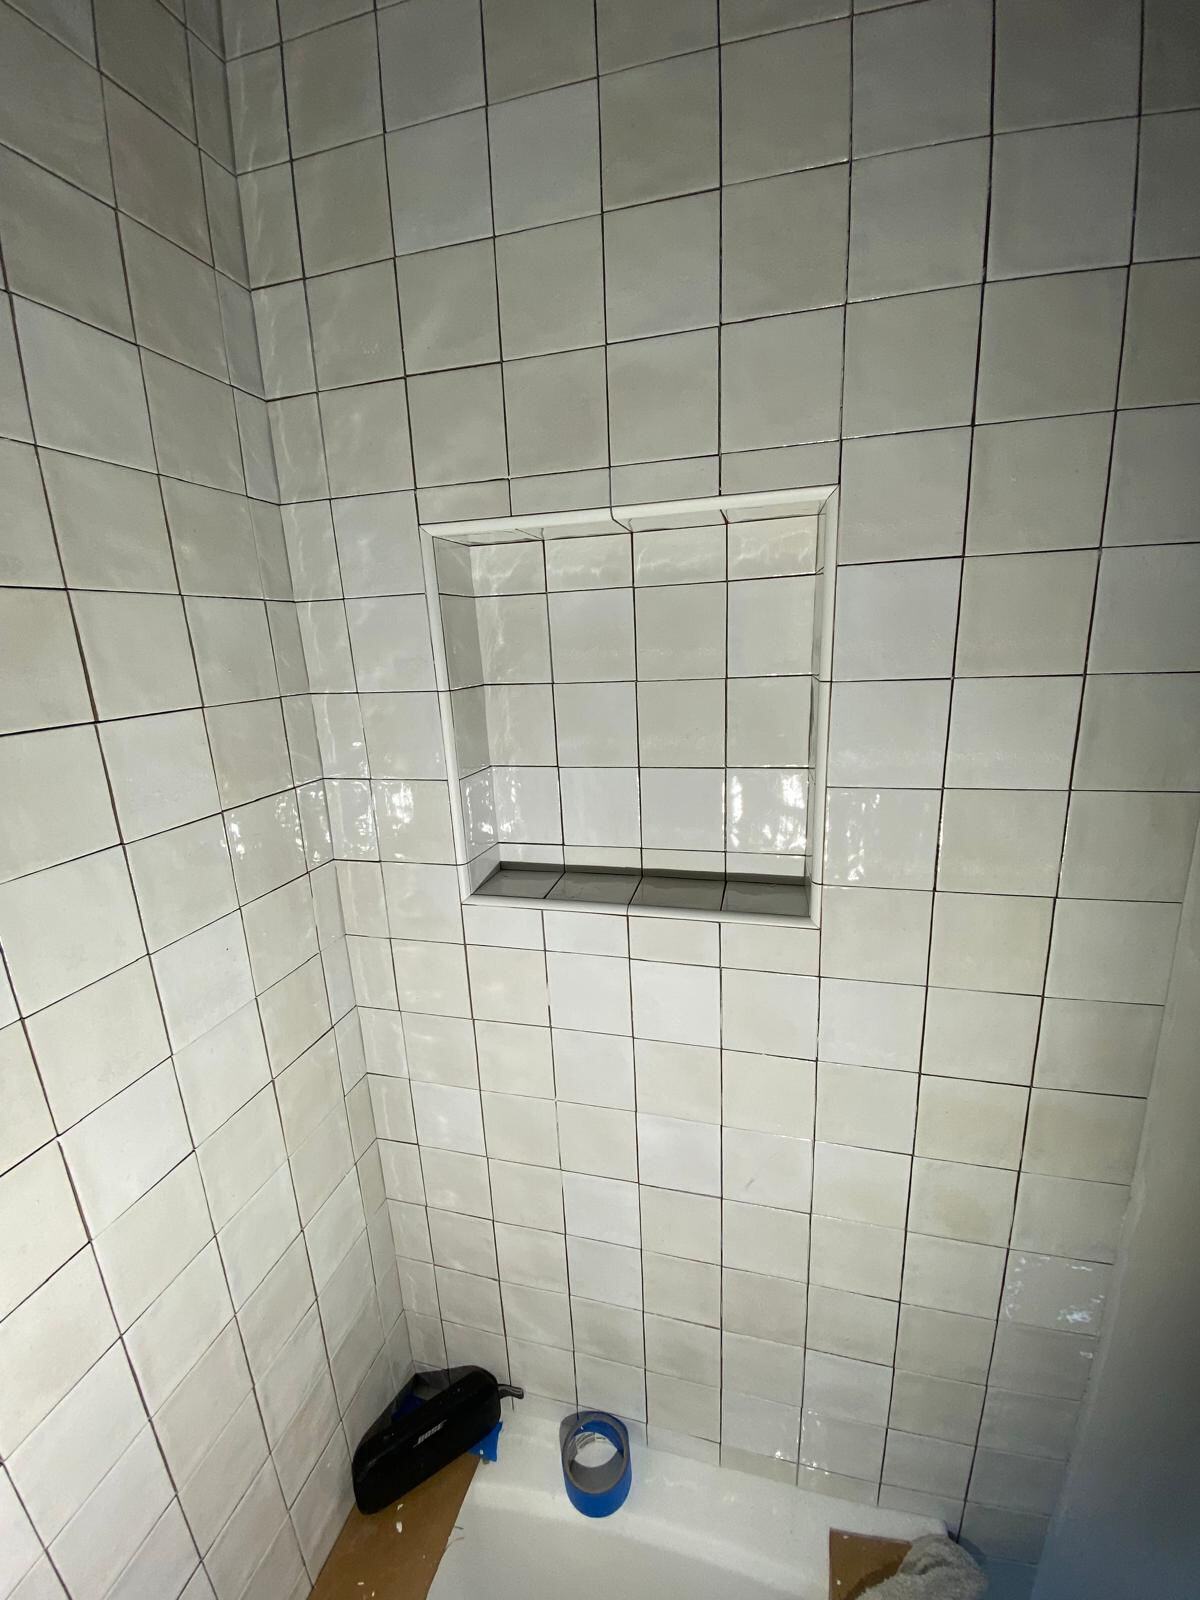
The image of a completed tub surround with stacked square glossy white tile — exactly like this project — is a strong example of how this handmade-look aesthetic translates beautifully in a Cambridge or Boston bathroom remodel.
Large-Format Porcelain Tile
For homeowners who prefer a more seamless, spa-inspired look with minimal grout lines, large-format porcelain tile — 12×24, 18×18, or larger — creates an expansive, uninterrupted surface that makes a standard tub surround feel far more generous in scale. Marble-look porcelain in large format is particularly popular for primary bathroom tub surrounds in Greater Boston renovations, where the tub is being positioned as a luxury feature of the space.
Large-format tile requires a perfectly flat and plumb substrate — any variation in the wall behind the tile becomes more visible at larger formats than it would be with smaller tile. This is one of the strongest arguments for a full gut renovation approach when replacing an existing tub surround, rather than tiling over the existing surface.
Tile With Decorative Accents
A tub surround does not need to be a single tile carried across all three walls. Some of the most visually interesting tub surrounds in Boston and Cambridge bathroom remodels incorporate a deliberate accent element that adds depth and design intent:
Floor-to-Ceiling Tile
Extending the tub surround tile from the floor to the full ceiling height — rather than stopping at 72 inches or at a defined line — creates one of the most dramatic and cohesive bathroom aesthetics available. This approach works particularly well in bathrooms with 8-foot or higher ceilings, where the vertical continuity of the tile makes the room feel taller and more expansive. It also eliminates the painted wall area above the tub surround, which is prone to moisture damage and mildew in bathrooms with poor ventilation — a common issue in older Massachusetts homes.
A recessed tile niche built into the tub surround wall is one of the most requested features in Cambridge and Boston bathroom remodels — and one of the most important to plan early in the construction sequence.
A niche must be framed into the wall before waterproofing and tile work begins. It cannot be added after the fact without opening the wall. The niche opening, back wall, and side walls all require full waterproofing treatment — the same membrane used on the primary surround walls — before tile is applied.
Niche design considerations include:
Grout color is one of the most underestimated decisions in a tub surround tile project. The same tile installed with different grout colors can produce dramatically different finished appearances — and the choice affects both aesthetics and maintenance for the life of the installation.
Light grout — white or off-white — creates the most seamless look with white tile, minimizing the visual presence of grout lines and making the tile surface feel more continuous. The trade-off is that light grout shows soap scum and discoloration more readily and requires more consistent maintenance to stay looking clean.
Medium grout — gray tones ranging from light to charcoal — is the most popular choice for white tub surrounds in Boston and Cambridge bathroom remodels. It provides enough contrast to define each tile without overwhelming the composition, and it is significantly more forgiving with everyday bathroom use than white grout.
Dark grout — charcoal, dark gray, or black — creates the strongest visual contrast with white or light tile and produces a graphic, high-contrast look that reads as deliberately modern. It is also the most forgiving from a maintenance perspective. Dark grout with white square tile in a stack bond pattern — as shown in this project — is a bold, contemporary choice that photographs exceptionally well and holds its appearance longer than lighter grout alternatives.
A tub surround is a wet area subject to daily water exposure — whether from bathing splash or shower use — and the waterproofing system installed behind the tile determines how long the installation lasts and whether it protects the wall structure behind it.
In older Cambridge and Boston homes where existing tub surrounds are being replaced, it is common to find moisture damage in the wall framing and substructure behind the original tile or surround panels. This is almost always the result of inadequate waterproofing in the original installation — water that penetrated grout joints over years eventually reached the framing behind.
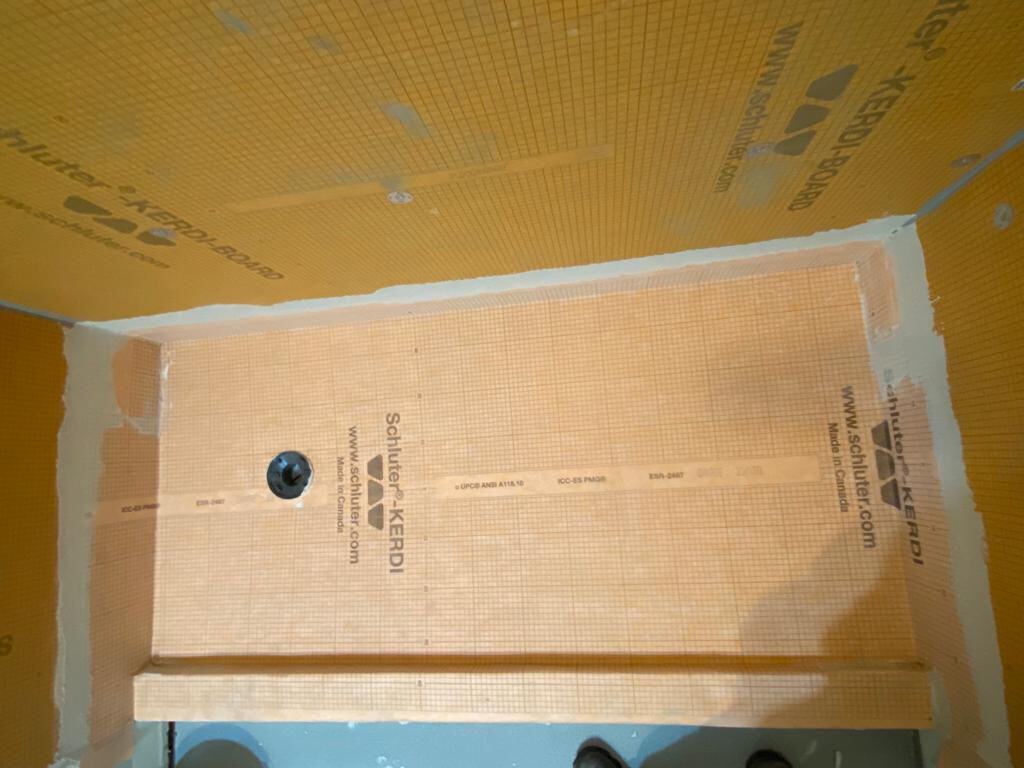
The correct approach for any new tub surround installation is to waterproof the substrate before tile is set — using a fully bonded membrane system such as the Schluter KERDI system — and to detail all corners and transitions with reinforcing fabric embedded in the waterproofing layer. Tile set directly over standard drywall or cement board without a dedicated waterproofing membrane is not an acceptable installation in a tub surround, regardless of how well the tile work itself is done.
Many older Cambridge and Boston homes have fiberglass or acrylic one-piece tub surrounds that were installed decades ago and are showing their age — yellowing, cracking, or simply looking dated in an otherwise updated bathroom. Replacing these with a custom tile surround is one of the most impactful single upgrades in a bathroom remodel.
The process involves:
The tub-deck-to-wall joint is one of the most critical details in a tub surround installation. Grout at this joint will crack as the tub flexes under the weight of water and occupants — a properly installed surround uses a flexible, waterproof caulk in a matching color at this transition, allowing the joint to move without opening.
A custom tile tub surround — designed for your space, built with proper waterproofing, and finished with the tile and details that reflect your style — is one of the most durable and visually impactful upgrades in any Cambridge or Boston bathroom remodel. It outlasts prefabricated surrounds by decades and adds a level of craftsmanship that raises the overall quality of the bathroom immediately.
At JCL Construction, Inc., our team manages every phase of the tub surround installation — from demo and substrate preparation through waterproofing, tile setting, and final finishing — with the attention to detail that wet area work demands.
Contact us today for a free estimate on your bathroom tile project.
📞 (781) 521-6395
📧 info@jclconstructioninc.com

From remodeling and new construction to painting and flooring, we deliver quality workmanship you can trust. Contact our team today for a free estimate and professional guidance for your next project.
Trust JCL Construction, Inc. to make your construction projects a reality. Contact us today and let us be your trusted partner on the road to transforming your space!

